These are the basic steps for creating a new task.
▼Data Tab (skip down to)
▼Handler Files Tab (skip down to)
To create a new Task:
In the Startup Wizard click Create a new Task/Kit —or—
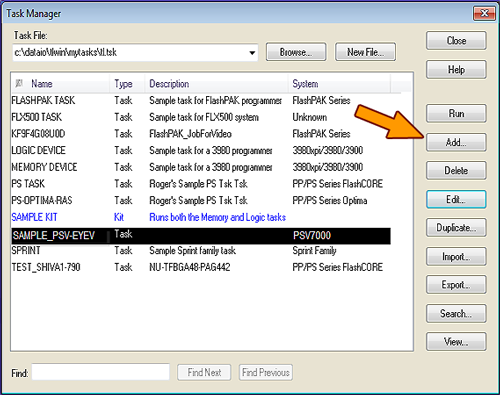
in the Task Manager, click Add:
¤ The Task Manager
Enter a valid name for this Task, select the button for A Task, and click OK.

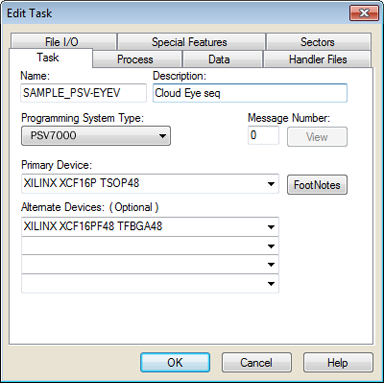
¤ The Task Tab
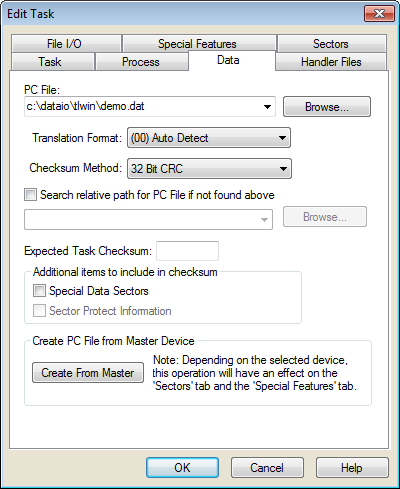
¤ The Data Tab.
Specify the Package Filename
Or—
Note: For more about creating and editing Package Files, see the AH700 onscreen Help.
| parameter |
Is Version Control enabled? |
Description |
|---|---|---|
|
SetReelSize=xxx |
No |
Sets the reel size for the label generation. This value can be manually changed while running a job if required. |
|
exCRC SetReelSize=xxx |
Yes |
Same as above, but prevents a CRC error when Version Control is enabled. |
|
ExpectedThroughput=xxx |
No |
Sets the expected throughput value in the AH software. The AH software will indicate how the actual throughput compares with the expected throughput during the running of a job. |
|
exCRC ExpectedThroughput=xxx |
Yes |
Same as above, but prevents a CRC error when Version Control is enabled. |
...where xxx represents a three digit number.
NOTE: Edit the Package File as desired clicking Run (which opens the AH700 application). For more information see the AH700 Help.
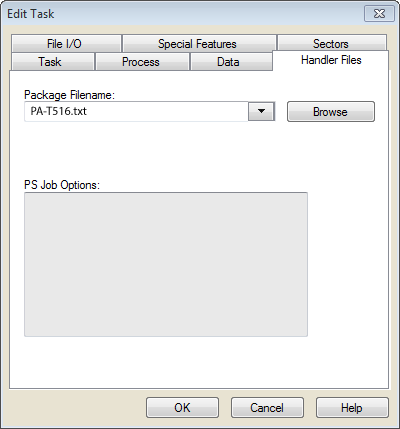
¤ The Handler Files Tab
All other tabs contain default values. Click OK to accept the defaults, or click other tabs (optional) and modify the values as desired.
Note: The Sectors tab must be configured last.
• • •